
So I got a transformation for younz, :)
While driving to church one sunday morning I spotted a house with a bunch of crap laying out near the road...
I liked what I saw (especially since it was free!!) .. So I said if it was still hanging there on our way home from church that I would snatch it up and take it home with me...
IT WAS STILL THERE! {score} .. I loaded it up in the back of the odyssey after I knocked on the lady's door just to make sure it was free.
Weather got cold so I didn't work on it for a few months, as it sat in the garage collecting dust.
I finally brought it down to our basement and went to town with it, already having an idea in mind.
***
Here is what it looked like BEFORE I started working .. :(


***
DURING ..
(I didn't sand it much, beings I didn't know if the paint job already on it would have lead in it)
So I just did some 'light' sanding with my sander :)
I usually wake up around 6:30, pack lunch for the husband, and drink 2 cups of coffee while blogging/facebooking... and the little boy sleeps in normally until 9-9:30..
So this is what I call my 'MOMMY TIME' .. 3 hours of silence, yesssss please :)
Time to do what I want! .. And this time I [wanted my cabinet finished!]
***
&&&&& This is what it looks like NOW .. :)


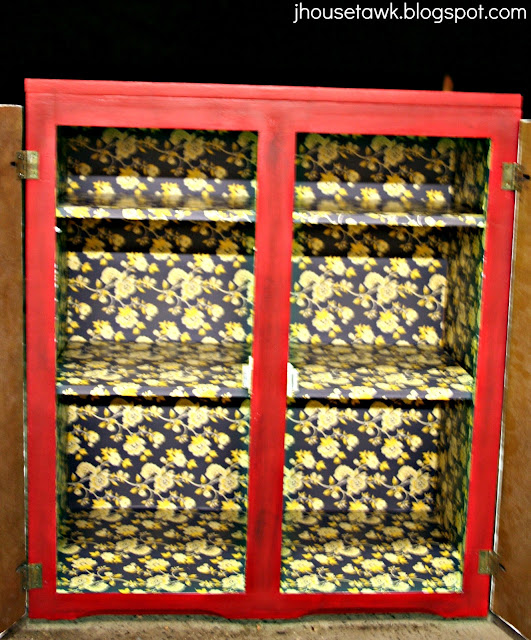


Steps following sanding:
1.) Prime EVERY PIECE!
2.) Paint cubby in Krylon Banner Red.
3.) Glaze over the Banner Red.
4.) Cover inside shelves with contact paper (I got mine at TjMaxx for 5.99 for (2) 2.5 ft x 10 ft rolls)
5.) Cover inside of cubby with the contact paper also (this lifts the looks of the cubby SO MUCH!)
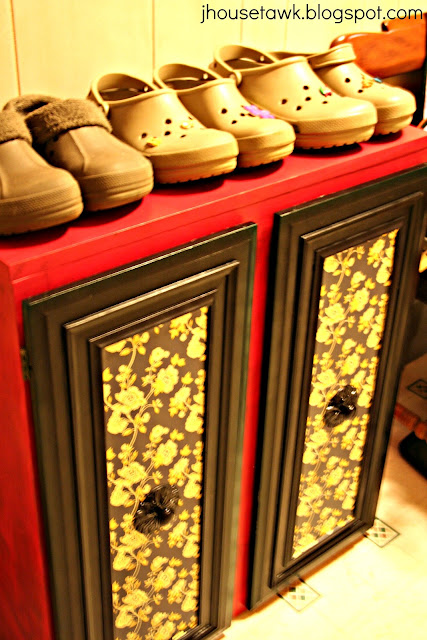
6.) Spray paint the cubby doors Rustoleum Painter's Touch Canyon Black SATIN.
7.) Measure and cover the inside of the door with contact paper.
8.) Spray paint the door hardware in the same Black Color.
9.) Replace the hinges... I didn't realize til looking back on the 'before' pictures that this time around the hubby put the hinges on backwards so the doors do not connect.. but actually, I think I like it better!!! :)
LOVE IT!
HAPPY CRAFTING!! Hope you liked this Transformation!!
LINKING UP TO:
I have got to find a cabinet to do this to! It totally rocks. I love everything about it! We would love to have you link it up at our party.
ReplyDeletehttp://www.ourdiydiaries.com/2012/05/fab-not-drab-fridays.html
Jen
AWESOME, sure I will be there :) Thanks so much for the kind words, I love to hear them :)
ReplyDeleteJordann-
cute and clever recycle
ReplyDeletehey this is so super cute!! and handy!! I love the way you reused the cabinets!
ReplyDeleteI wanted to let you know that we featured you at our party this week! Stop by and check it out! Also we pinned this to our pin board!
thanks for partying with us!
http://natural-nester.blogspot.com/2012/05/naturally-nifty-16.html