
See this little guy, in the picture below?..

Well, he actually came with the house!
It wasn't til this spring that I decided he needed a little makeover!
Get a good look at him now.. Cause he's going away forever!!

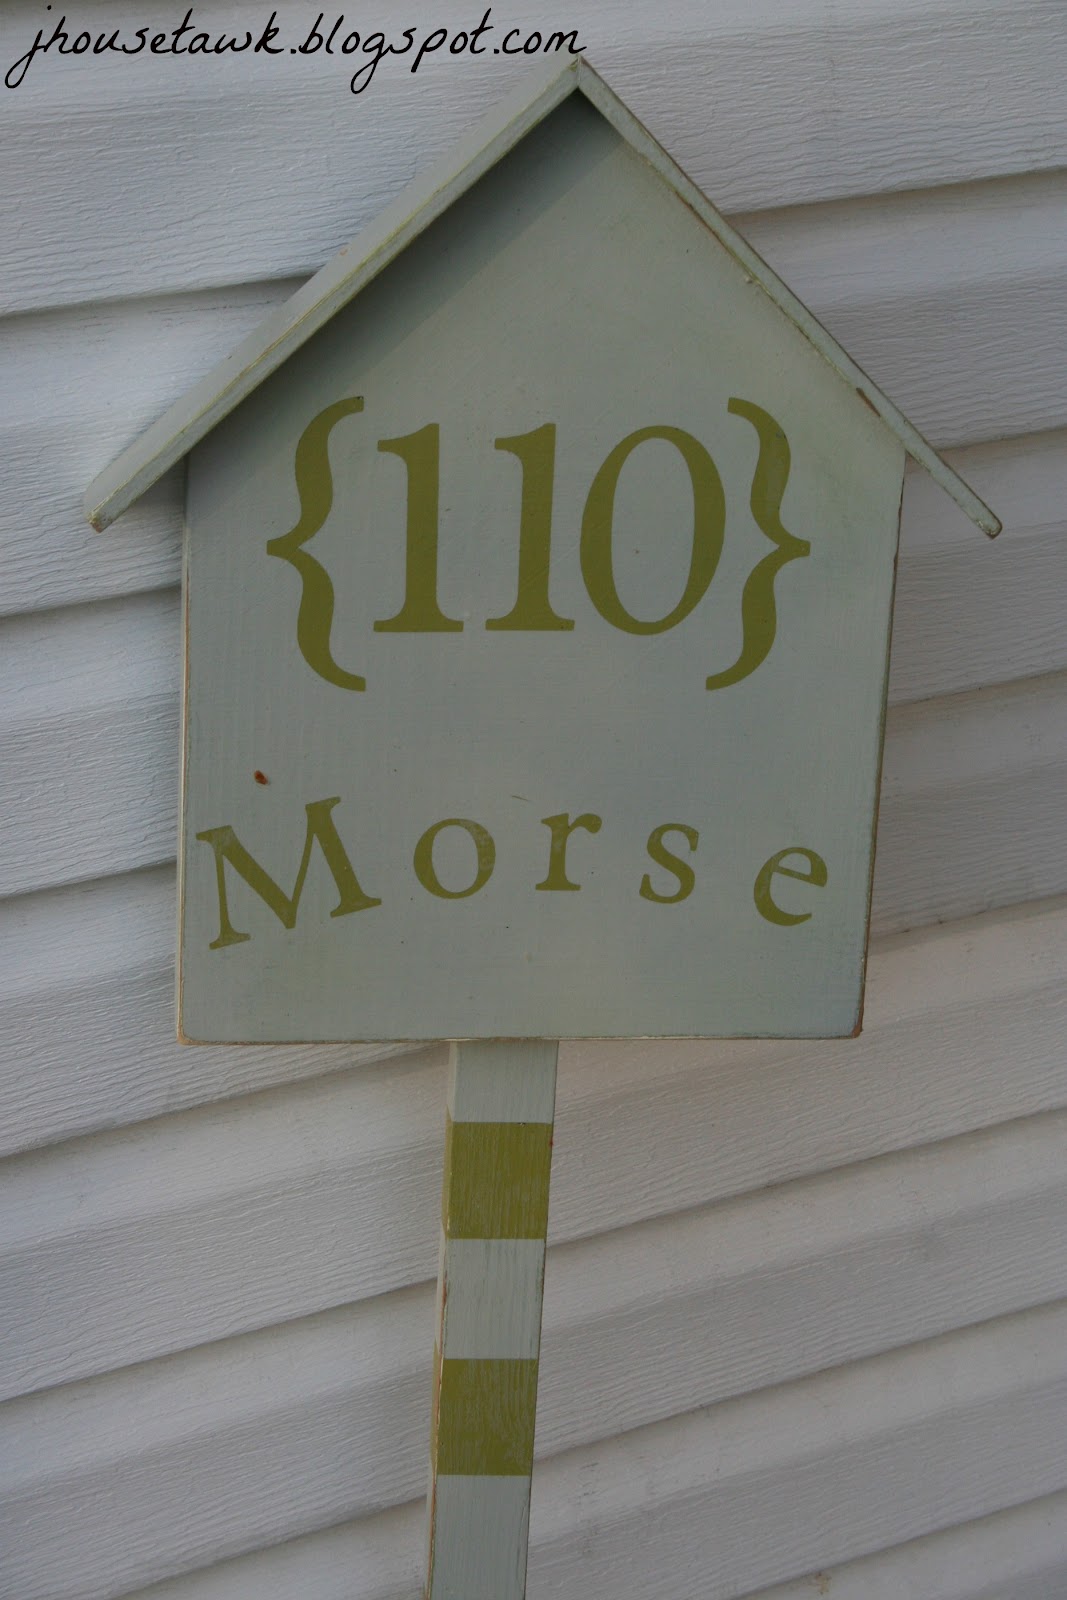
Here he is now, all sanded, painted, and showing off!

THIS IS SOMETHING EVERYONE CAN DO!!!

I repainted this guy a green first...
Cause that's the color I wanted my letters to be.

With the cricut machine, cut out your letters and place them where you would like them to be on your master piece.. After a million sticking, and resticking, I finally got them where I wanted them to appear!!
NOW, repaint this a color you'd like the background to be!

Now after you let dry for as long as needed.. and then peel off the letters!
Stand in awe as you gaze over your newly polished outside decoration!

Sanding is key to getting this looking awesome!
Sand all the edges of the letters to make it look worn and make it blend in with the rest of the color.
Sand the edges of the birdhouse/etc.. to give it a weathered look!!
Now put any kind of top coat on him!

I LOVE how this turned out!
I LOVE the oldness to it!
I LOVE how it looks as I pull in to the driveway!
What do you think?!
LINKING UP TO:

Oh I love your new Welcome sign and what you did to brighten it up! I've been looking for a cute Welcome sign too, I just love yours! Nicely done!
ReplyDeleteI love this! It really makes me want to make some kind of sign for our front door area too :)
ReplyDeleteLooks great.
ReplyDeleteThanks, All!! :)
ReplyDeleteWhat a really cute sign, now I'll need to make one for front porch! Great way for a visitor to be welcomed! You've sure been 1 busy girl lately!!!!! Thanks for sharing your creative inspiration over at Sunday's Best!
ReplyDelete